**Note: This content is intended for system administrators and is technical in nature**
Summary
The G Suite integration with Practifi enables users to integrate Google Calendar and Google Drive with Practifi using Skuid. Here's a breakdown of how we can integrate G Suite with Practifi:
Configuration of G Suite on Skuid
Now that the configuration of G suite is complete, we would need to configure a Skuid data source to use the enabled API in Skuid.
New Authenticator Provider
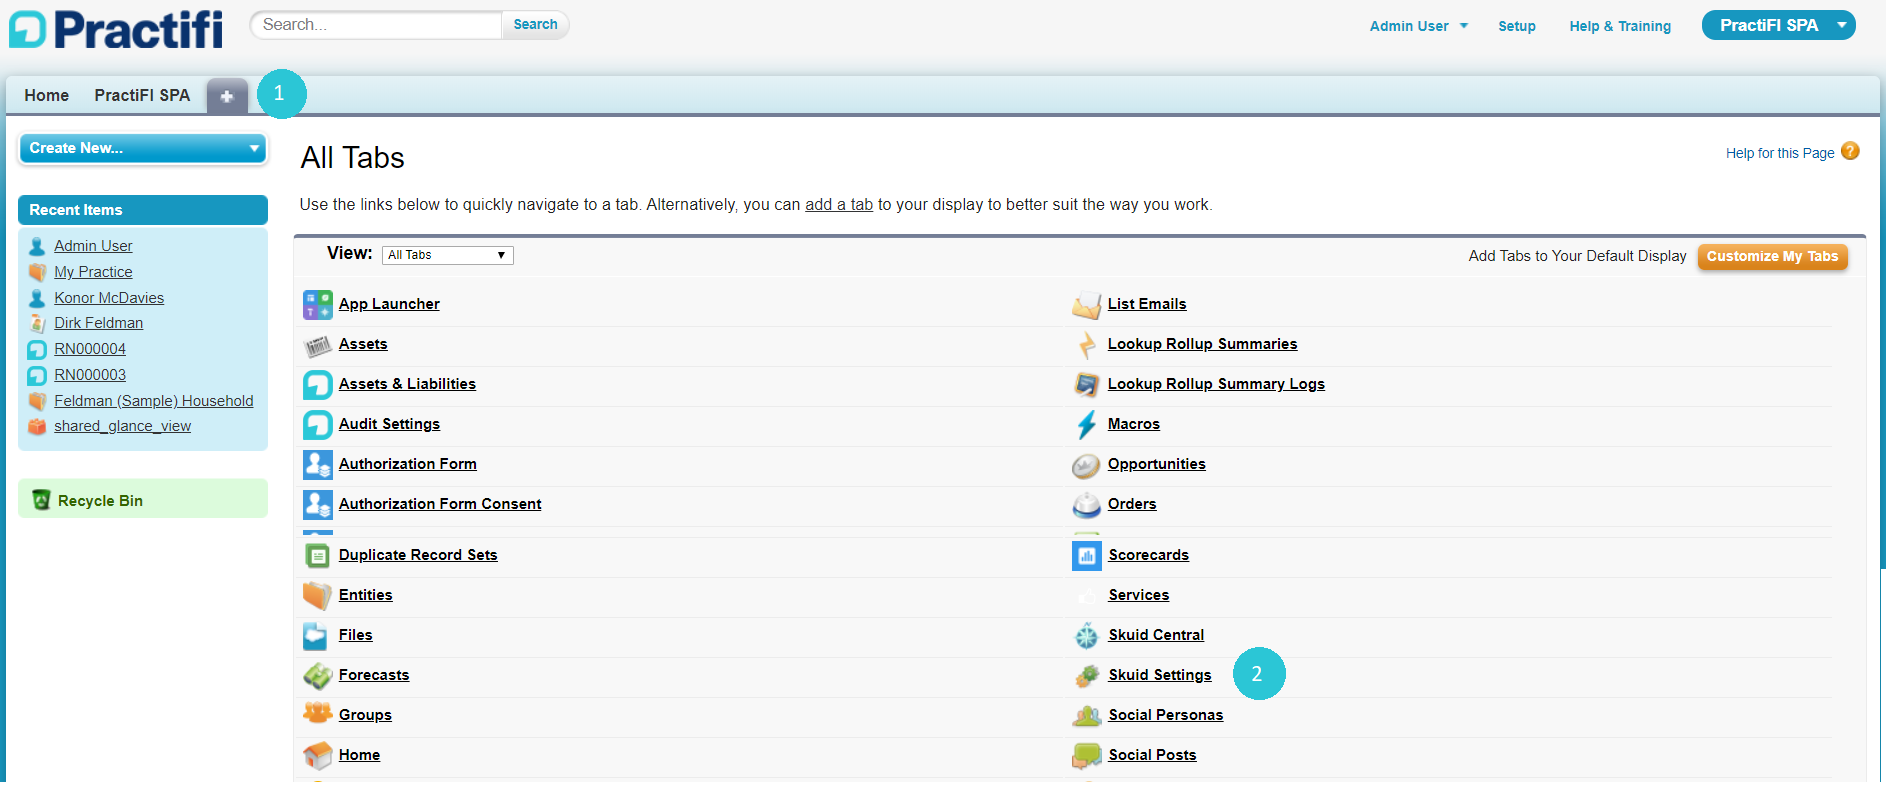
1. Navigate to the PractiFI Org, open Salesforce Setup and click '+' in the Menu bar

2. Navigate to Skuid Settings
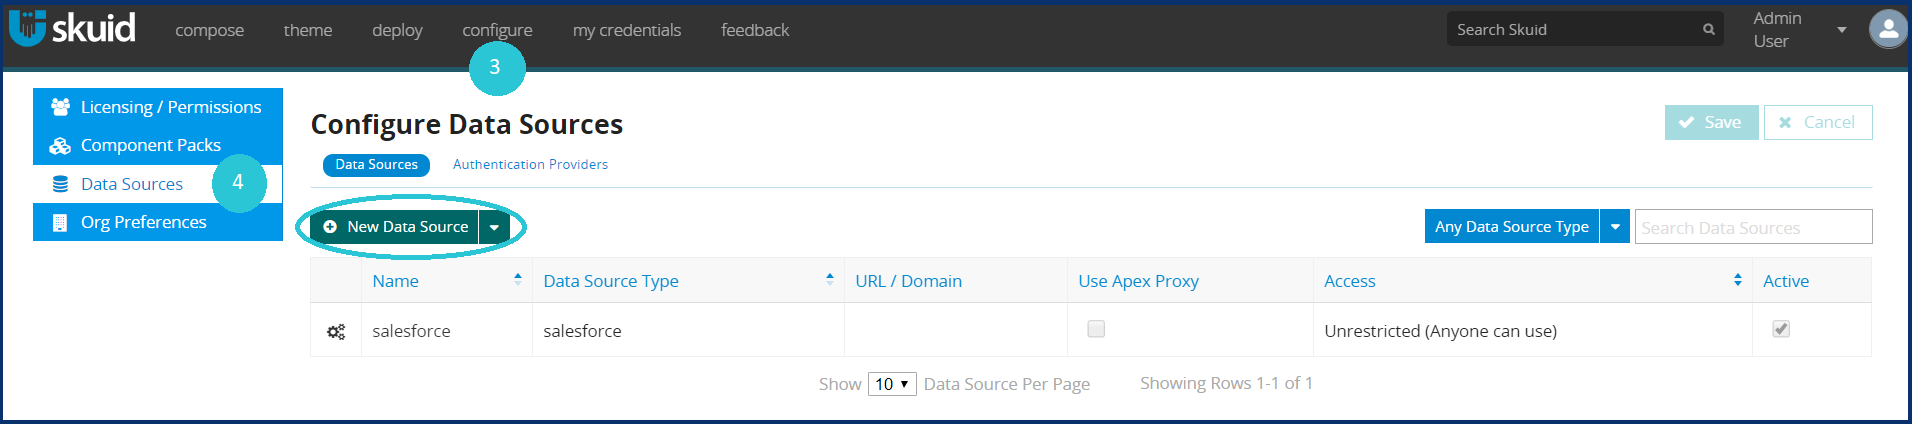
3. Click on Configure from the top menu bar
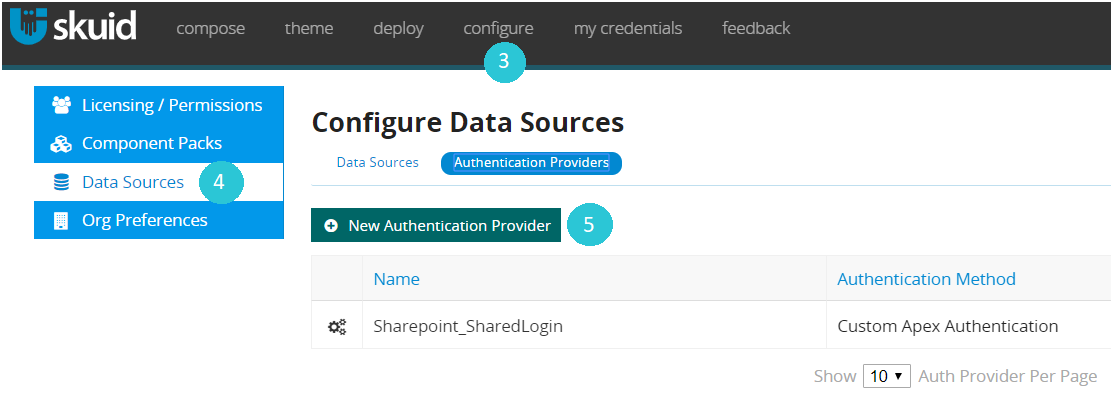
4. Click on Data Sources and click on Authentication Providers as below
5. Click on New Authentication Provider
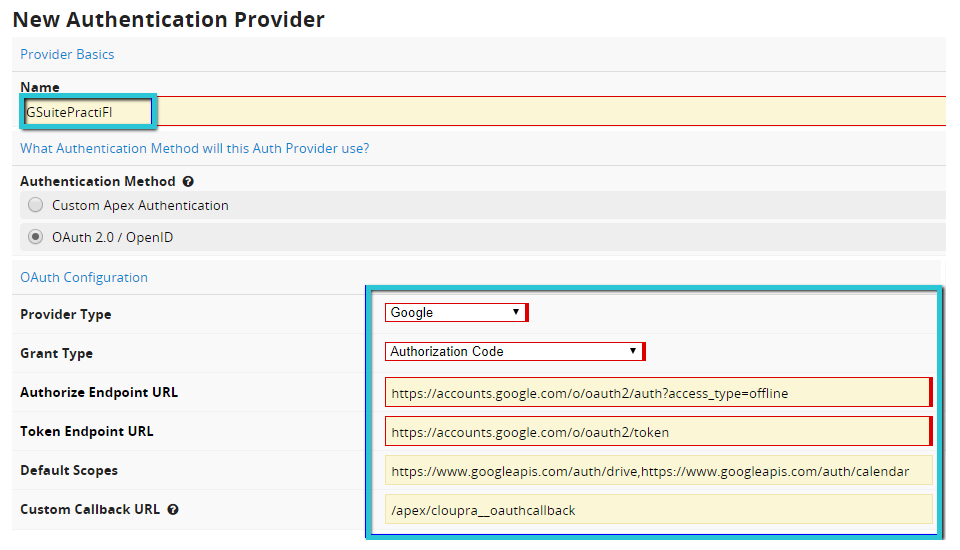
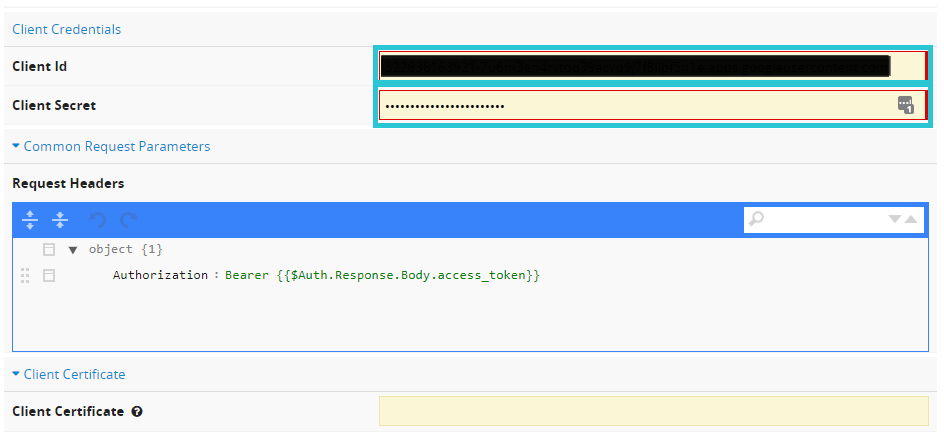
6. Enter the values as given below and enter the Client ID and Secret as provided after configuring the Google Authentication and click Save.
- Give Name -> GSuitePractiFI as standard
- Authentication Method -> OAuth 2.0 / OpenID
- Provider Type -> Google
- Grant Type-> Authorization Code
- Authorize Endpoint URL -> https://accounts.google.com/o/oauth2/auth?access_type=offline
- Token Endpoint URL -> https://accounts.google.com/o/oauth2/token
- Default Scopes -> https://www.googleapis.com/auth/drive,https://www.googleapis.com/auth/calendar
- Custom Callback URL -> /apex/cloupra__oauthcallback
Configuration of Google Drive Data Source on Skuid
Now we would need to configure a Google Drive data source to use with Skuid.
Data Source configuration
1. Navigate to the PractiFI Org, open Salesforce Setup and click '+' in the Menu bar
2. Navigate to Skuid Settings
3. Click on Configure from the top menu bar
4. Navigate to the Data Sources tab and click on New Data Source
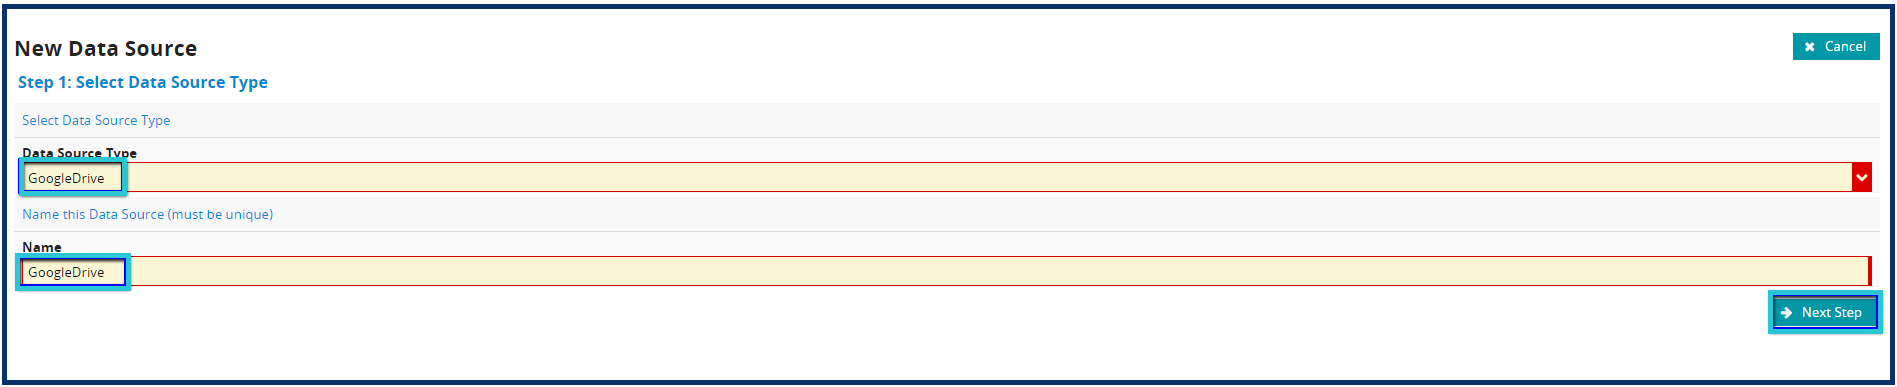
4.1 Fill in the New Data Source details as below
- Data Source Type -> "GoogleDrive"
- Give Name -> "GoogleDrive"
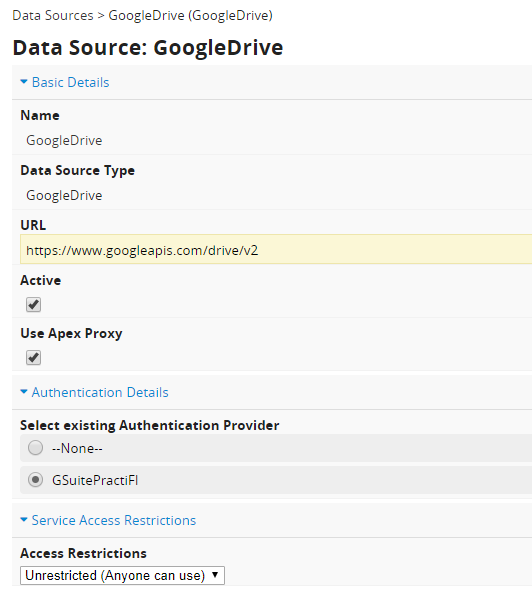
4.2 Select an Existing Authentication Provider
- Authentication Details -> GSuitePractiFI or the credential name given

4.3 Select the Service Access Restrictions as Unrestricted(Anyone can use)
-
It will automatically create a Remote Site Setting to this URL : https://www.googleapis.com/drive/v2
Configuration of Google Calendar Data Source on Skuid
Next we would need to configure a Google Drive data source to use with Skuid.
Data Source configuration
1. Navigate to the PractiFI Org, open Salesforce Setup and click '+' in the Menu bar
2. Navigate to Skuid Settings
3. Click on Configure from the top menu bar
4. Navigate to the Data Sources tab and click on New Data Source
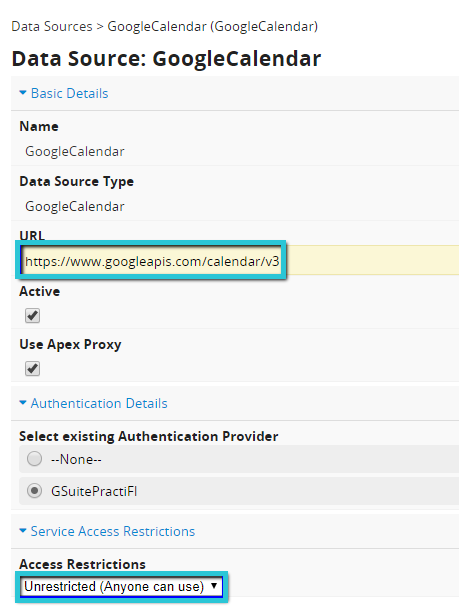
4.1 Fill in the New Data Source details as below
- Data Source Type -> "GoogleCalendar"
- Give Name -> "GoogleCalendar"

4.2 Select an Existing Authentication Provider
- Authentication Details -> GSuitePractiFI or the credential name given
4.3 Select the Service Access Restrictions as Unrestricted(Anyone can use)
-
It will automatically create a Remote Site Setting to this URL : https://www.googleapis.com/drive/v2
Integrating G Suite / Google Drive with Practifi
Now that the configuration of Google Drive and Google Calendar is complete, we have to integrate the same with Practifi.
Configure Google Drive
1. Navigate to the Settings context
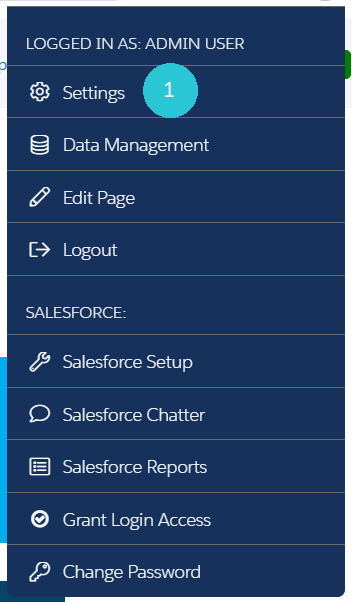
2. Navigate to the Config tab

3. Click on Edit, select Enable Google Drive and click on Save.
Enabling the Menu Item
1. Navigate to Practifi Settings

2. Navigate to the Menu Items tab
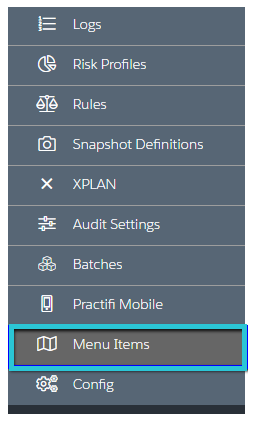
3. In the filter select Teammember as the Context and Active/Inactive as the status.

4. Search for Google and double-click next to the checkbox under the Active column.

5. Open the Team member view and navigate to the Google Drive and Google Calendar menu item to access the same. You may be asked to login for which you would be required to enable popups.
This would complete the steps to integrate G Suite with Practifi.
Comments
Article is closed for comments.